
Compare
Review the four camera jobs and their trade-offs.
Choosing your setup
Choose the recording job. Then compare the detail.
Start with coverage and mounting, then check power, handling and file access.
Review the four camera jobs and their trade-offs.
Narrow the choice around your riding situation.
Use the instructions for your exact model.
HC-1 is the lightweight forward-facing helmet option. DC-1 offers accessible front-and-rear recording, while DC-2 Pro is the higher-spec dual-lens option.
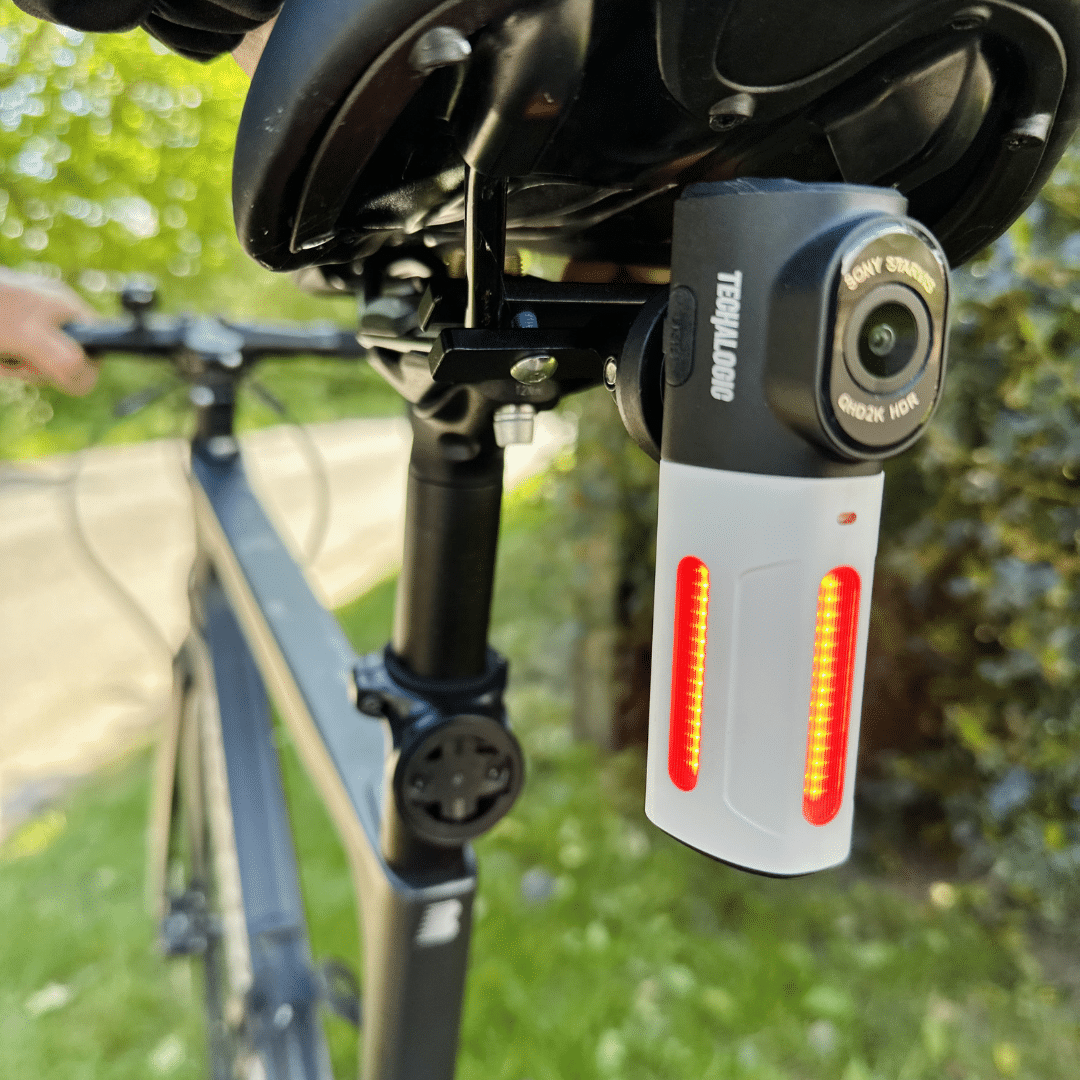
LC-2 Pro serves a different job: rear cycling recording with an integrated LED light. It is not simply the next step in a helmet-camera hierarchy.
Think about helmet or bike mounting, the length of your usual ride and how you will charge the camera. Check any mount, memory card or accessory you need.
Look at the full setup cost and the practical trade-offs. A specification only matters when it helps with the recording job you want the camera to do.
Review labelled recordings and setup videos. Pay attention to the camera model, mounting position, light and conditions rather than assuming every clip represents every situation.
No camera guarantees readable detail in every frame. Use footage to understand the view and decide whether it suits your expectations.
Start with its model-specific support page for manuals and setup help. Check camera versions before buying replacement remotes or fittings.
If you are unsure which accessory you need, tell us your model and version. A correctly matched replacement can keep an existing setup useful.
A reliable record of what happens around you.
Holme Road Offices, Holme Road, Yaxley
Cambridgeshire, United Kingdom, PE7 3NA
© 2026 Techalogic. Practical rider safety technology.