
Short answer: There isn’t one perfect camera position for every horse rider. A riding-hat camera follows where you look, while a suitably secured body-worn camera tends to show a different, lower perspective. Whatever the position, your riding hat’s protective function, comfortable movement and avoiding snagging come first. Check the manufacturers’ instructions before fitting anything.
A peaceful hack is one of life’s nicer ways to spend an hour. A bit of fresh air, a good horse and—if you’re lucky—nothing more eventful than a pheasant deciding the entire hedge is its personal launch pad.
The last thing most riders want is a complicated checklist of technology before getting into the saddle. But if you’d like a recording of your rides, it’s worth giving some thought to where your camera will sit.
Not because there’s a secret “perfect angle”, but because camera placement changes what your recording can show—and how comfortable the equipment feels.
What are you hoping to record?
Before you buy a mount, ask a less exciting but much more useful question: what would you like to see when you watch the footage back?
If you hack on the road, perhaps you’d like a clear view of approaching traffic, passing places or the way a vehicle moves past. If you use bridleways, it might be a record of shared-path encounters and the route you took.
Maybe you’ve ridden with a camera before and discovered that every video contains ten minutes of sky, thirty minutes of mane and a brief cameo from an interesting tree. That is useful information too: the angle needs adjusting.
The aim isn’t cinematic footage. It’s a practical record of ordinary riding from a viewpoint that makes sense.
Can you mount a camera on a riding hat?
A riding-hat camera can provide a viewpoint close to what you’re looking towards. If you turn your head to check traffic or another rider, the camera may turn with you. For a compact, forward-facing setup, that can be useful.
However, not every riding hat is designed to accept a camera or mount. Adding an accessory can affect how protective headgear behaves in an impact, and even a small attachment may interfere with fit or manufacturer recommendations.
That means there’s no blanket recommendation to stick a camera on any riding hat. Check the current instructions from your hat manufacturer, including its guidance about attachments. If the manufacturer says not to fit anything, don’t.
The same applies to adhesive mounts, straps or modifications. Something that seems secure during a quick fitting can behave very differently during a fall.
You should never drill, cut or modify protective headgear to make a camera fit.
What does a hat-mounted view actually look like?
The view follows your head rather than the horse’s direction of travel. This can be a benefit when you actively look towards something you want recorded.
It can also be a limitation.
If you’re checking behind you, the camera isn’t necessarily showing the lane ahead at that moment. If you glance down at your horse’s neck, that’s what may appear in the recording. Some riders naturally look around more than others.
There isn’t anything wrong with this. It’s just how a head-mounted viewpoint works.
It is worth watching an ordinary test clip, rather than a carefully chosen ten-second extract. Does the road remain visible often enough? Does the angle show what matters to you? Do normal head movements leave you with footage that’s easy to understand?
An image that looks lovely for social media isn’t automatically the best evidence of the route around you.
Is a body-worn camera a better option?
A body-worn camera uses a different position, usually somewhere on a suitable garment or dedicated mount. It may give a more fixed forward-facing view than a camera that moves with your head.
It also brings its own considerations. Your arms, reins, jacket, body position or movement in the saddle could obscure the lens. A loose attachment can wobble or shift. And anything protruding from clothing needs careful consideration for snagging and comfort.
A body-worn setup shouldn’t interfere with your riding, your safety equipment, the reins or the horse’s tack. Only use a mount and positioning that the relevant equipment manufacturers say is suitable.
For some riders, a secure, appropriately placed body mount might be preferable to attaching anything to a hat. For others it may not produce the view they need.
This isn’t a competition between two clever mounting ideas. It’s about what you can use safely and consistently.
What about recording from the saddle or tack?
It’s tempting to look for an inventive mounting point: perhaps something on the saddle, a strap or a piece of tack.
Our recommendation is to be very cautious. A camera or mount that can shift, snag, rub or interfere with tack or the rider’s movement isn’t a sensible trade for a better camera angle.
Don’t attach recording equipment to your horse or tack without specific guidance from the relevant equipment manufacturers and appropriate professional advice. A horse isn’t a camera tripod, however politely yours may stand for the photograph.
And remember that a lower or offset mount can give a significantly different view from what a rider sees. Test footage is essential.
Does a forward view cover passing traffic?
It can show part of an encounter, but the perspective matters.
On a lane, a forward-facing view might record an approaching vehicle before it reaches you. If a vehicle approaches from behind, the camera may miss most of its approach entirely.
This is where front-and-rear recording may be worth considering. A dual-lens camera such as Techalogic’s DC-1 or DC-2 Pro records ahead and behind from one helmet-mounted unit. That offers two directions of footage—but it doesn’t make all mounting concerns disappear.
Whatever camera you choose, the rider’s position and surrounding equipment can create blind spots. Rear footage may show approaching traffic but won’t always establish distance precisely or make registration plates readable.
If your priority is a record of passing traffic, think about direction first, then choose only a mounting method compatible with your riding equipment.
Should the camera be on every ride?
There isn’t a rule saying a rider must record. But if you’re choosing to use a safety camera as part of your normal routine, convenience matters.
A five-minute set-up process can feel like five minutes well spent on the day you unbox something shiny. Three weeks later, when it’s cold and you’ve got one glove on, the novelty may have worn off.
Make the routine easy: charge the camera after riding, check storage, ensure the mount is secure and confirm that recording has actually started. Learn the controls when you’re not in the saddle.
Where appropriate, check whether the camera’s battery duration suits your usual hack. Advertised runtimes are approximate maxima under stated conditions, not promises that every recording will last that long.
Which Techalogic cameras should horse riders consider?
Techalogic’s cameras are designed around different recording jobs rather than a neat good-better-best ladder.
HC-1 is a small, lightweight forward-facing helmet camera. At a stated 48g, it is the compact choice in this line-up for a rider who values a straightforward forward record. It doesn’t capture behind you.
DC-1 uses dual lenses to record front and rear from one helmet-mounted unit. It’s an accessible route to two-direction recording, although it’s larger than HC-1.
DC-2 Pro is another dual-lens option with higher-spec recording and a longer stated battery duration. Its remote and GPS module are optional extras.
All three require the same first question: does your riding-hat manufacturer permit a compatible attachment? If not, don’t assume there’s an acceptable workaround.
The LC-2 Pro has a different role: it’s a rear-facing bicycle camera with an integrated cycling light and seat-post mount. It’s not an equestrian-hat camera and shouldn’t be treated as a substitute for one.
You can compare the stated roles and trade-offs in the Techalogic camera comparison.
How do you check that your camera is pointing correctly?
You don’t need a film crew. A short, ordinary test is better.
Start on the ground. With the camera positioned in accordance with the relevant manufacturer’s instructions, record a brief clip while you move as you normally would. Look left and right. Check that clothing or other equipment isn’t covering the lens.
Then review the recording. Is the horizon reasonably level? Can you see the lane or path? Does the lens angle change unexpectedly? If there is an approved and safe way to adjust it, make a small adjustment and check again.
Don’t keep fiddling with a camera while handling your horse or riding. Make adjustments in a safe place, off the horse where appropriate.
Once you’ve tested your setup under controlled conditions, revisit the footage after a normal ride. Actual movement can reveal things you won’t notice standing still.
What makes footage useful if something happens?
A camera can only provide the view it recorded. If you want to retain a particular clip, keep the original file wherever possible, note the date and location and avoid changing the source recording.
It’s also wise to check the camera’s file-management behaviour. Some models use loop recording, which can overwrite older footage when storage fills. If you need to preserve something, copy it safely before that happens.
Evidence requirements differ between police forces, insurers and other organisations. A recording may help document an event, but it does not guarantee action or a particular outcome.
This isn’t a dramatic reason to film every ride. It’s a practical reason to understand your equipment before you need to look back at the footage.
The best camera position is the one that makes sense for your ride
A good mounting position gives you a useful view without compromising your protective gear, movement or comfort. For some riders that might be an approved riding-hat setup; for others an appropriate body-worn arrangement may be worth exploring.
Don’t chase an impressive-looking camera angle at the expense of riding safely. Check the hat manufacturer’s advice, keep equipment secure and test the view.
And if your first recording is mainly a close-up of your horse’s ears? Congratulations—you’ve made a lovely short film about your horse’s ears. Check the angle and try again.
For a practical starting point, explore Techalogic’s horse-riding camera guidance and compare the available cameras.
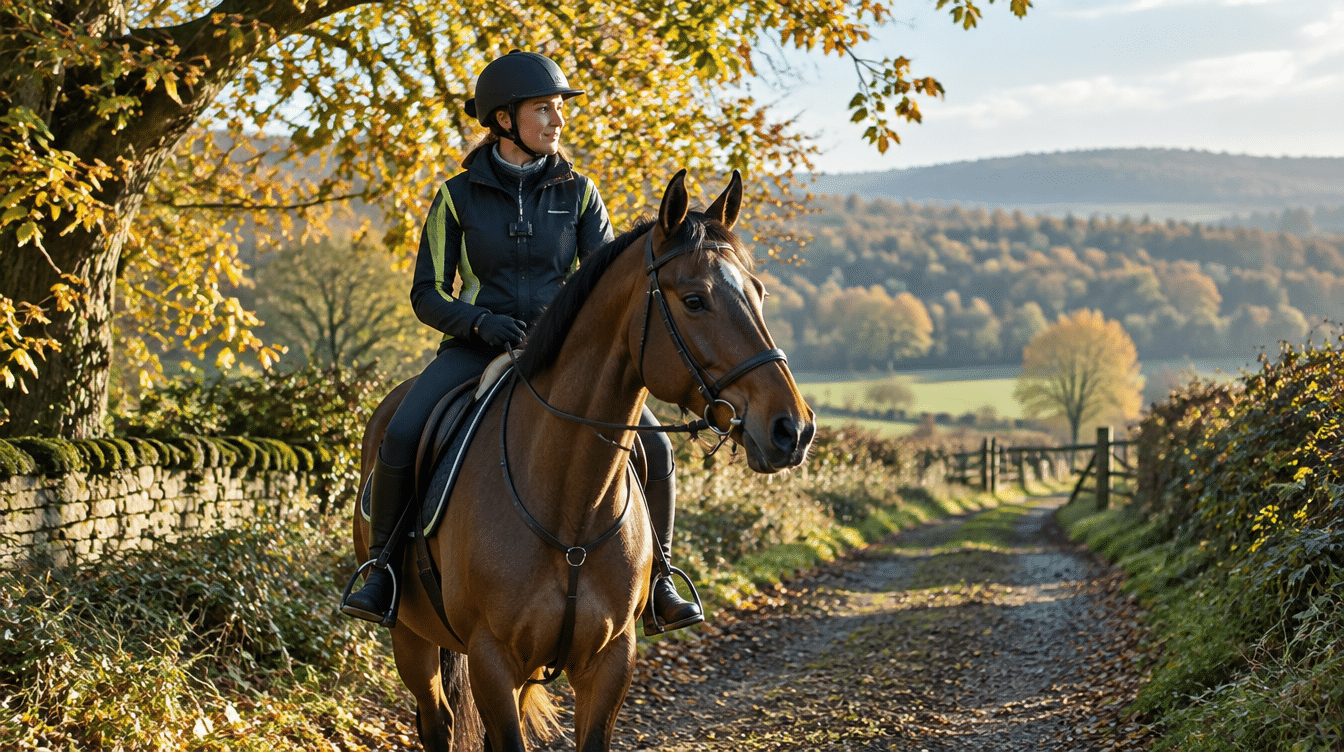
Image: AI-generated editorial illustration. It does not show verified Techalogic equipment, an actual incident or a manufacturer-approved mounting arrangement.