
Quick answer: The best motorcycle helmet camera for everyday riding is one you can mount appropriately, start reliably and use for your usual journey. First decide whether you want to record ahead or both ahead and behind. Then compare mounting suitability, real-world battery needs, controls, weather resistance and how easy it is to save footage.
The perfect ride rarely begins with a lengthy discussion about memory cards.
It starts with the keys, a quick check of the bike, the helmet and a look at the sky that either confirms your optimism or makes you question every life choice that led to motorcycling in Britain.
A helmet camera should fit into that routine, not take it over.
If you’re choosing your first motorcycle recording camera—or replacing one that’s become too much bother—here’s how to separate the features that genuinely matter from the ones that just make the packaging busier.
Why record an ordinary motorcycle ride?
Most rides aren’t particularly dramatic. That’s good news. The aim of a safety camera isn’t to turn every trip to the shops into an action film.
A recording can give you something to look back on if a journey doesn’t go quite as expected. It may show a traffic situation, the road ahead or another vehicle approaching behind you. Sometimes it’s simply a useful record of a route and the circumstances around you.
That can be valuable precisely because memories aren’t perfect. What happened first? Where were the vehicles positioned? Was the road wet? Footage may help answer some of those questions.
But it cannot answer everything. A camera’s view is limited by its direction, mounting position and recording conditions. And no camera can promise that a recording will lead to a specific police, legal or insurance outcome.
Think of the product as a way to keep a reliable record of what happened around you, not as a guarantee about what happens afterwards.
Should a motorcycle helmet camera record front, rear or both?
This is the first choice worth making.
A front-facing camera captures the road you’re travelling towards. It can record junctions, traffic ahead and part of the lead-up to a situation.
A rear-facing camera captures what approaches from behind, providing a different perspective on following and overtaking traffic.
A dual-lens front-and-rear camera combines both views in one helmet-mounted unit. That can provide a fuller account of a journey than either view alone, although there will still be blind spots.
For daily commuting in traffic, you may decide that two directions are worth having. For a rider who values the smallest possible setup and a simple forward record, front-only may be the more practical choice.
Neither is automatically right for every motorcyclist. Start with the routes you actually ride.
Can you safely attach a camera to any motorcycle helmet?
No—and this is where enthusiasm for a new gadget needs to meet some good old-fashioned common sense.
A helmet is protective equipment first. Before adding a camera or mount, check the helmet manufacturer’s instructions and any guidance that applies to your particular model.
Do not drill, cut or alter the helmet shell to fit a camera. Don’t assume an adhesive or clamp is appropriate simply because somebody on the internet has used one. The fact that a mount sticks firmly isn’t, by itself, proof that it is suitable.
Consider fit, comfort, the position of the attachment and anything that may catch on clothing or interfere with normal head movement.
If you are unsure whether a mounting method is permitted, ask the helmet manufacturer or an appropriately qualified retailer before using it.
A camera is there to support your riding routine. It shouldn’t compromise the equipment you’re trusting with your head.
Where on the helmet should the camera point?
A helmet-mounted camera follows your head movement. That’s useful when you look towards a junction or a vehicle, but it also means the recording may shift as you check mirrors, look over your shoulder or scan the road.
The position of the lens matters. A camera angled too low may record a lot of tank and handlebar. Too high, and your footage might be a surprisingly detailed documentary about clouds.
Before you depend on your new setup, make a short test recording. Check that the view covers the road where you expect it to, and that your movements don’t constantly obscure the frame.
Then ride normally in a safe, familiar environment and review a second clip afterwards. Sometimes the angle that looks correct when you’re standing beside the bike is different once you’re in your usual riding position.
Make adjustments safely while stopped, not on the move.
Is video resolution the most important specification?
It’s worth considering, but it’s not the whole story.
A higher-resolution camera can record more picture detail under suitable conditions. That doesn’t guarantee that every passing number plate will be readable or that every moving object will look sharp.
Lighting, weather, lens cleanliness, movement, compression, camera angle and distance all affect what a recording actually shows.
For everyday recording, we’d put a lot of weight on whether the camera starts when you need it, provides the coverage you want and is easy to operate. Useful footage from a camera that’s running beats an impressive specification from a camera you forgot to switch on.
When you’re comparing models, ask to see genuine sample recordings in ordinary conditions, not just the best five seconds on a perfectly sunny afternoon.
How much battery life do you need?
Think about the longest normal ride you’ll want to record without charging—not your once-a-year cross-country adventure, unless that’s exactly what you’re buying for.
If your commute is half an hour each way, the calculation is different from a day spent exploring back roads. You also need some margin, because battery figures are stated under particular conditions.
Higher recording settings, temperature, battery age and other active features can change the duration you experience.
In Techalogic’s current helmet-camera range, the stated maximum duration is up to 2.5 hours for HC-1, up to 2.5 hours for DC-1 and up to 4 hours for DC-2 Pro in dual Full HD at 30fps. DC-2 Pro’s dual 2K mode has a shorter stated runtime of approximately 190 minutes at 30fps. These are manufacturer-stated durations, not guarantees for every recording mode or journey.
If you regularly do longer rides, plan your charging routine and check the manual for supported power arrangements rather than assuming an accessory will work with your model.
What about rain and rough roads?
Motorcycling in the UK isn’t exactly a laboratory exercise.
A camera may encounter rain, road spray, low light and vibration, sometimes on the same trip. Look at the manufacturer’s stated weather resistance, and follow any instructions about covers, charging ports and use in wet conditions.
For example, Techalogic lists an IP65 weather rating for HC-1, DC-1 and DC-2 Pro. That describes the stated product protection; it doesn’t mean you can ignore its operating instructions or assume the camera is suitable for submersion.
Vibration and road movement can also change how stable the footage appears, particularly if a mount is loose or poorly positioned. Fit and check everything in accordance with the relevant instructions, then review a normal ride.
Will you actually be able to use it with gloves?
There is a surprisingly simple buying test: imagine starting the recording while you’re wearing your usual gloves.
Can you tell whether the camera is on? Is there a clear indication that recording has started? Is the control arrangement easy to remember after a week away from the bike?
If you have to remove your gloves, open two menus and negotiate with a phone application every time you want to record, it might not suit the job.
That doesn’t make advanced features bad. It means simple operation has value in its own right.
Techalogic’s HC-1 focuses on lightweight routine recording with one-button operation and vibration feedback. DC-1 includes a supplied remote. DC-2 Pro offers a remote as an optional extra, rather than bundling it as standard.
Those differences are worth weighing against how you ride.
How do you make sure footage isn’t lost?
Recording is only half the job. Being able to retrieve the file matters too.
Get familiar with how the camera stores clips, which memory cards it supports and whether it uses loop recording. Loop recording can overwrite the oldest files when storage is full. That’s convenient for routine use, but not if the recording you wanted to keep is still on the card when it gets overwritten.
If something happens and you want to preserve a clip, stop the overwrite process when safe, follow the model’s guidance and copy the original file to secure storage.
Keep a note of the date, time and location. Avoid editing the original recording if you may later need to share it with a reporting organisation.
Local police reporting procedures and evidence requirements vary, so check the relevant official guidance before submitting any material.
Which Techalogic motorcycle camera would we recommend?
We’d start with three different jobs.
HC-1: keep it light and simple. A compact, 48g camera that records ahead. It’s the option to look at when you want a straightforward forward view and minimal kit. The obvious trade-off is that there is no rear recording.
DC-1: record both directions at an accessible price. This dual-lens helmet camera records in Full HD ahead and behind. Its stated runtime is shorter than DC-2 Pro’s, but it covers the same two basic directions.
DC-2 Pro: two views with longer stated recording time. The higher-spec dual-lens option records in 2K and offers optional GPS functionality. It has a larger helmet setup than HC-1 and its remote and GPS accessories are extras.
Notice what we haven’t said: that everybody needs the most expensive camera. They don’t.
If a small forward-facing unit fits your rides and you’ll use it reliably, that’s a good reason to choose it. If seeing following traffic matters to you, the two dual-lens models deserve a closer look.
The Techalogic camera comparison sets out the differences without turning it into a game of specification bingo.
A two-minute camera check before setting off
Once you’ve chosen a camera, make the routine easy enough that it sticks.
- Check that it has enough charge for your planned journey.
- Look for a clean lens and a secure, manufacturer-approved mount.
- Confirm the memory card is working.
- Start recording and check the camera’s indication.
- Every so often, watch back a sample to make sure the view is still right.
You don’t need to turn this into a formal pre-flight inspection. Just make it one of those little habits that happens before the engine starts.
The right camera should make recording feel ordinary
The best motorcycle helmet camera isn’t necessarily the one with the longest feature list. It’s the one that suits your helmet, records the direction you care about, lasts for your ride and doesn’t demand your attention once you’re moving.
That’s what practical rider safety technology ought to do.
Choose the record you want to keep. Make the setup part of your routine. Then get on with the reason you went out in the first place: the ride.
Compare Techalogic’s motorcycle recording options or use our camera finder to narrow down the choice.
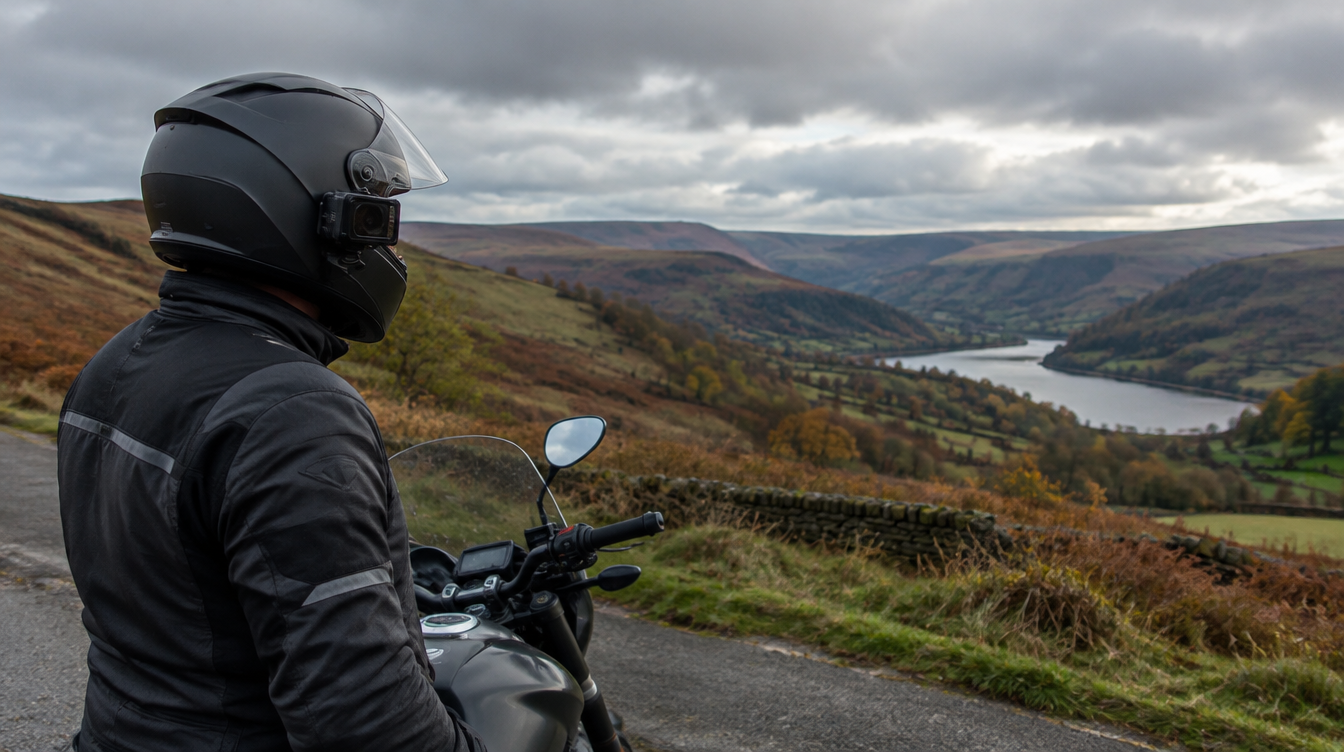
Image: AI-generated editorial illustration. It does not show verified Techalogic equipment, an actual incident or a manufacturer-approved mounting arrangement.